Solid strength begins with simple movements done impeccably. The most experienced lifters I’ve coached, from first-time gym members to competitive athletes, share one habit: they drill the fundamentals relentlessly. Foundational lifts build strength that transfers to daily life and every sport. They also set the stage for safe progress when the weight, volume, and complexity climb. Work with a skilled personal trainer and these lifts stop being abstract names on a program and become reliable tools you can call on for decades.
This guide walks through the big movements I teach in personal training gyms and why they matter. You’ll see what quality looks like, how to find the right setup for your body, and how a fitness trainer can help you avoid detours that slow progress. Expect practical details and a few stories from the floor.
Why foundational lifts outlast fitness trends
Machines cycle in and out of fashion. The basics never leave. Squats, hinges, presses, pulls, carries, and lunges tie strength to posture, breathing, and balance. They teach your skeleton to stack, your core to brace, and your nervous system to coordinate effort through the full range of motion. That coordination is the difference between looking strong and being strong.
A gym trainer who knows the craft chooses foundational lifts because they check multiple boxes at once. A barbell back squat strengthens the torso as much as the legs. A loaded carry challenges grip, trunk stiffness, and gait. The payoff compounds when your program blends these patterns with enough frequency and sensible progression. I tell clients to expect two changes early on: they feel more stable when they pick things up, and old aches from desk life start to fade as alignment improves.
The squat: build strength from the ground up
Squats reveal how well you move and how well you control that movement under load. In the first session, I learn more from five bodyweight squats than a page of intake forms. Foot pressure, knees tracking, hip depth, ribcage position, even breathing patterns surface in those reps.
Quality squat mechanics start with three anchors. First, keep pressure through the whole foot, especially the big toe and heel, so the arch supports the knee. Second, let the hips and knees flex together, not one after the other. Third, keep the ribs and pelvis facing each other to protect the low back and keep force flowing through the legs. Many new lifters chase depth and forget the torso. A personal fitness trainer will cue breath, brace, and bar or bell position that match your build rather than a one-size cue like “sit back.”
Tool choice matters. A goblet squat with a kettlebell teaches torso position and depth without overloading the spine. A safety bar squat suits lifters who struggle to get the shoulders into a back squat position. Front squats build upper-back strength and reward clean movement because the bar will roll if you Workout trainer fall out of posture. We’ll often start with a goblet squat for two to three weeks, then split into front or back squats as your control improves.
Ranges tell more truth than absolutes. If you can squat to a box that keeps your hips slightly below the knees with a neutral spine, that’s deep enough to earn progressive loading. If your hips or ankles limit depth, a good fitness coach modifies stance width and heel elevation. I’ve seen five to eight degrees of extra ankle flexion from a simple wedge make the difference between a shaky knee dive and a crisp pattern.
When pain shows up, the fix is rarely to quit squatting. Instead, the trainer trims load, shortens depth, or changes the bar placement while working on the underlying mobility or stability. A 45-year-old client with cranky knees rebuilt squats by shifting to a high-handle trap bar deadlift for six weeks while we hammered quad strength with tempo goblet squats. Knees calmed, strength climbed, and we returned to barbell squats with better capacity.
The hinge: learn to load the hips, spare the back
If the squat is the king of total-body strength, the hip hinge is its queen. Deadlifts, Romanian deadlifts, and kettlebell swings teach you to bend at the hips while keeping the spine braced. That hip-dominant pattern protects the back when you pick up a suitcase or move a couch. It also unlocks athletic power.
Start by owning a clean hinge without load. Stand tall, soften the knees slightly, push the hips back as if closing a car door, and keep the ribs down. Your shins should stay almost vertical as you feel the hamstrings stretch. A mirror or a coach’s eye keeps the neck long rather than craning up. Once the pattern clicks, load up.
The conventional deadlift works for many, but not all. The trap bar deadlift often fits more bodies and feels friendlier on the back because the load sits closer to your center of mass. I default to trap bar pulls for newer lifters for that reason. The Romanian deadlift adds time under tension for hamstrings and glutes and builds the skill of keeping the bar close to the legs. A kettlebell swing then trains hinge speed and crisp hip extension.
Breathing makes or breaks the hinge. Inhale through the nose before you lift, expand the sides of the ribcage, then brace as if you were about to cough. The lift begins when that brace holds firm. A good workout trainer will tap the sides of your abdomen or cue “fill the belt” to help you feel the brace expand in all directions, not just forward.
One small test I use: set a PVC pipe or dowel along the spine, touching the back of the head, the upper back, and the tailbone. Hinge while keeping all three points in contact. Lose a point and you’re flexing or extending where you shouldn’t. Thirty to sixty seconds of this drill before loaded sets can save months of frustration.
The horizontal press: better than bench numbers
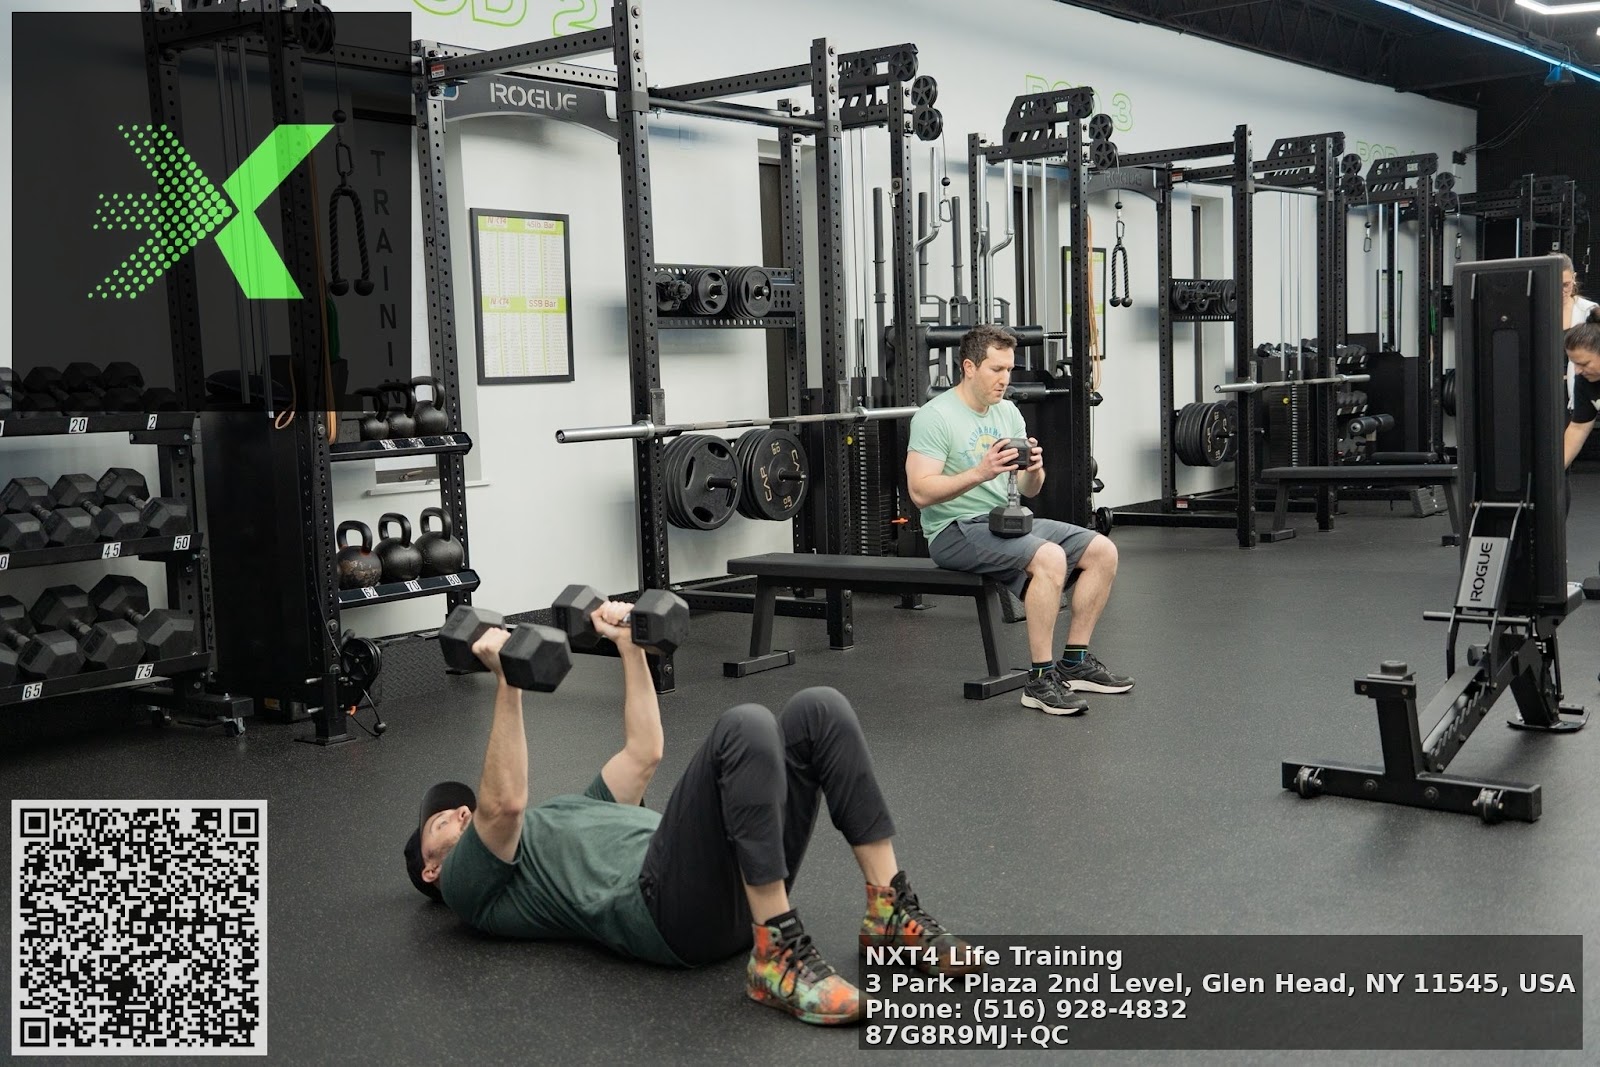
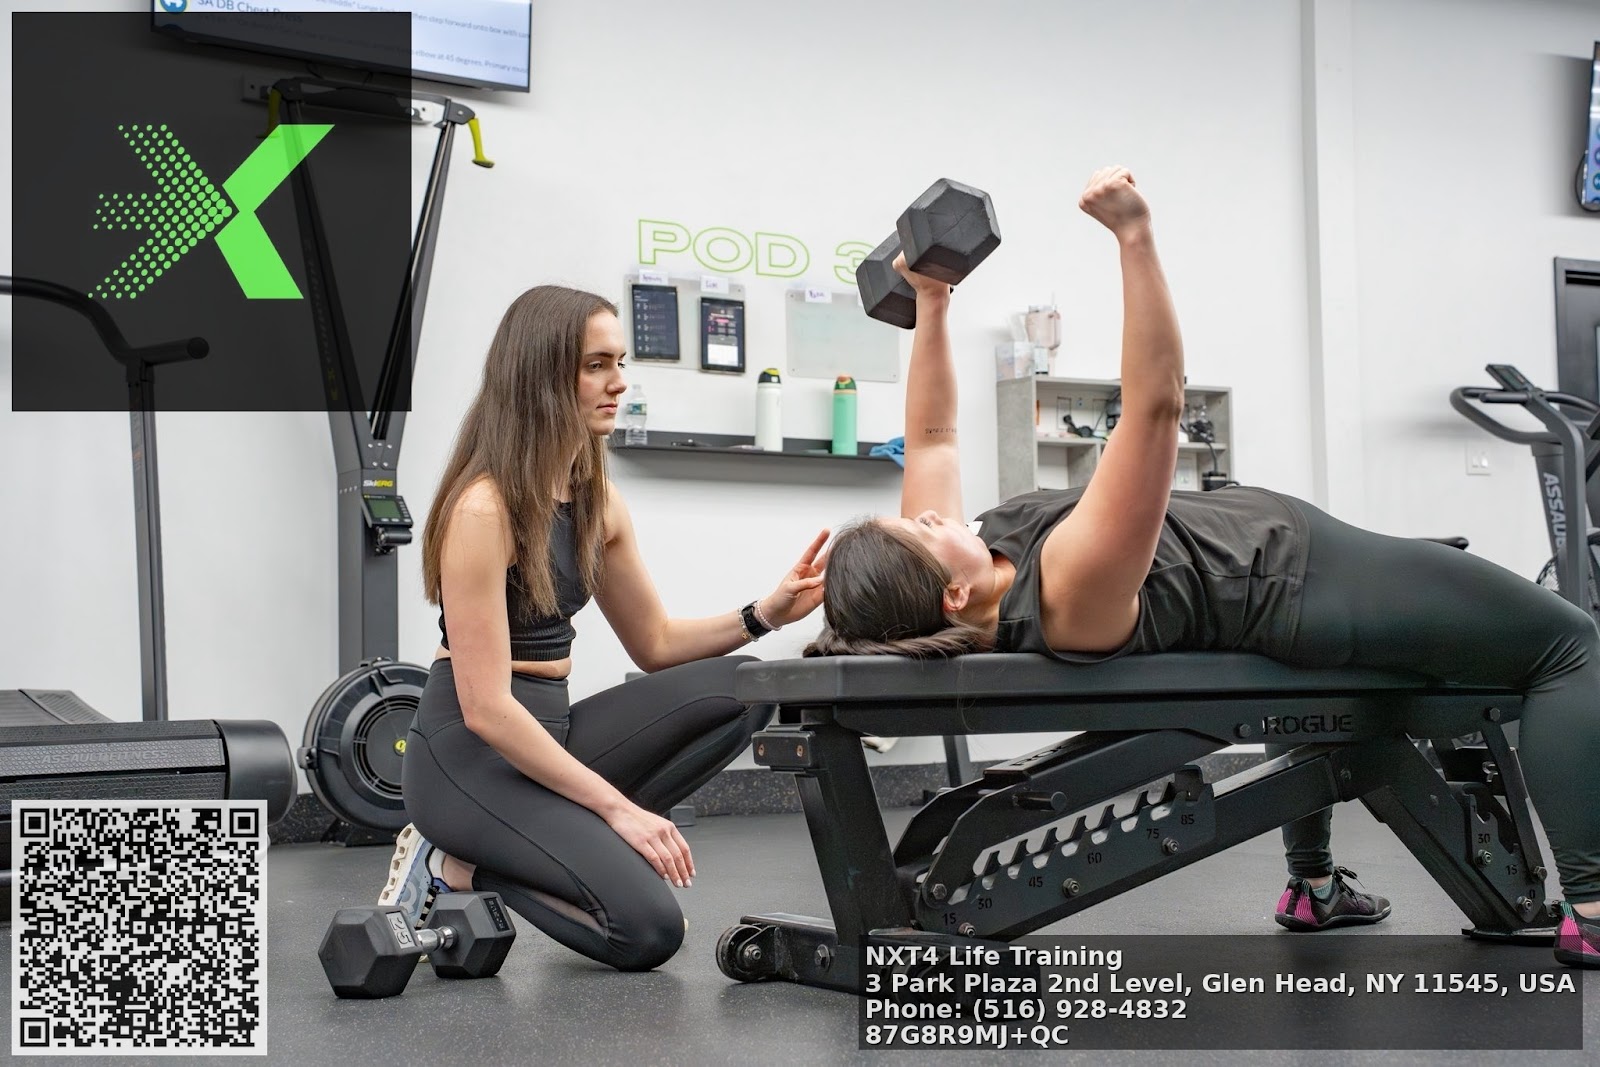
A barbell bench press has its place, but I often start clients with dumbbell bench variations. Dumbbells give each shoulder its own path, great for lifters with history of desk posture or old sports tweaks. Set your shoulder blades by pulling them down and back gently, keep a soft arch in the upper back, and squeeze the floor with your feet to build body tension. If you feel this mostly in the front of the shoulders, adjust the elbow angle closer to 45 degrees from the torso rather than flared out to the side.
Tempo teaches control. Two seconds down, pause one second on the chest or just above, then drive up. Pauses reduce the ego, improve stability, and boost strength exactly where most lifters struggle. I’ll program a four-week block of paused dumbbell pressing before moving to barbell work. When we do barbell, I’ll choose a grip that keeps the wrists stacked over the elbows and the shoulder blades planted on the bench. If you cannot hold a retracted, packed shoulder during a rep, the load is too heavy for now.
A personal trainer earns their fee on shoulder health. Good pressing pairs with good pulling, a ratio of roughly two pull patterns for each press pattern in early phases. That balance lets the shoulder blades glide on the ribcage without grinding the front of the joint. If your gym trainer spends time teaching you how to row well, you’re in good hands.
The vertical press: strength you feel when you put a suitcase overhead
Overhead pressing exposes mobility gaps and core strategy. Many adults lack enough shoulder flexion to press overhead without rib flare. That’s fine. We meet your body where it is. A landmine press gives the shoulder a friendly arc while training the core to resist extension. Half-kneeling landmine presses sharpen hip and trunk alignment as well. As shoulder motion improves, a standing single-arm dumbbell press becomes the default, often before bilateral barbell work.
Press vertically only as high as you can keep the ribs stacked over the pelvis. If the low back arches and the ribs pop up, you’ve left your pressing lane. A fitness coach will cue you to exhale midway through the press to keep the ribs down, then top off the breath at lockout. I like to teach a slight shrug at the top so the scapula upwardly rotates, which gives the rotator cuff space to breathe.
A chronically tight neck after pressing signals too much trap dominance and not enough serratus or lower trap engagement. Address it with light face pulls, serratus wall slides, and smart load selection. Many clients move from five to eight reps pain-free on dumbbell presses within three to four weeks by dialing in scapular motion and breath.
The horizontal pull: row to build the frame
Rows build the back, but more importantly they teach the shoulder blade to move and anchor. A chest-supported dumbbell row removes the temptation to heave from the low back. I’ll emphasize reaching long at the bottom to let the shoulder blade glide, then pulling the elbow toward the hip while keeping the neck relaxed. Too many lifters pinch the shoulder blades together as the only cue. That turns the row into a neck tightener.
Cable rows let you fine-tune the line of pull and work through varying grips. One subtle change shifts results: don’t overarch the low back to finish the row. Keep the ribs down so the mid-back does the work. If you can feel the lower traps light up between the shoulder blades, you’re on the right track.
Programming pull volume a touch higher than push volume protects the shoulders. In practice this might mean three sets of eight on bench paired with four sets of ten on rows. Your personal trainer watches posture while you work. If your right shoulder lives higher than the left at rest, expect more unilateral rows and carries on that side until the gap closes.
The vertical pull: own the pull-up pattern, even if you’re not there yet
Pull-ups and lat pulldowns share a movement pattern with different demands. For many adults, an honest pull-up takes weeks or months of patient practice. That journey builds strong lats, biceps, forearms, and an iron midsection. I split the work into pieces. First, strong hollow-body positioning so the ribs and pelvis stay stacked. Second, a powerful scapular depression at the start, think “drive the elbows to the ribs.” Third, full control on the way down.
Assisted pull-ups with a band can help, but the band provides most help at the bottom where you need to learn to produce force. I favor eccentric lowers from the top for sets of three to five seconds, and isometric holds at various heights. Pair these with lat pulldowns where you own the shoulder blade path, keeping the chest tall, not hyperextended.
An older client of mine, 52 at the time, hit her first pull-up after eight months of consistent work. She never missed the twice-weekly sets of isometric holds and eccentric lowers. The day it clicked we did exactly one rep, then moved on. That restraint kept elbows and shoulders happy, and she built to triples within six weeks.
The carry: the simplest move most people skip
Loaded carries test posture and grip, two limiting factors for daily life strength. Farmers carries with heavy dumbbells or kettlebells teach you to stack tall and resist sway. Suitcase carries on one side challenge the obliques and quadratus lumborum to keep you upright. I coach a slow, quiet walk. If the weights clang or your steps slap, you’re moving too fast or the load is too light.
Carries slide into warm-ups or finishers nicely. One hundred to two hundred feet per set, two to four sets, is plenty. Over several weeks you’ll see your deadlift grip feel sturdier and your lower back feel more supported. For desk workers, suitcase carries return more stability per minute than almost any other accessory.
The hinge-squat bridge: the trap bar deadlift
The trap bar deadlift sits between squat and hinge. For many lifters the handles place the hands in line with the center of mass, which means the torso stays more upright than in a barbell deadlift. This alone can reduce back strain. I’ve watched anxious first-timers pull confident sets of five on the trap bar after struggling to reach the bar in a conventional setup.
Coaching the trap bar is simple and effective. Feet under the hips. Grip the handles, pull the slack out until you hear the soft click, inhale and brace, then push the floor away. Knees open enough to make room for the arms, but avoid the knees drifting forward so far that the heels lose pressure. If the weight drifts forward mid-rep, place small plates near the toes as a tactile reminder to keep the pressure back.
Programming the basics with a skilled coach
Your body adapts to what you repeat with enough challenge, rest, and consistency. A personal trainer builds that rhythm. I favor two to three full-body sessions per week for most general clients. Each session anchors on one or two primary lifts, then layers supportive accessories. Total working sets across the week for a given pattern often land in the 10 to 20 range, adjusted to training age and recovery. When life gets messy, a fitness coach trims the plan without losing the thread.
A sample structure for a three-day week might look like this:
- Day A: Squat emphasis, horizontal pull accessory, carry. Day B: Hinge emphasis, horizontal press accessory, single-leg work. Day C: Vertical pull emphasis, vertical press accessory, core and gait drills.
Volume and intensity cycle. Newer lifters progress week to week with small load increases, often 2.5 to 5 pounds per dumbbell or 5 to 10 pounds on a barbell. More advanced lifters rotate variations and rep targets. A personal fitness trainer will sometimes wave volume within a week, heavy on Day A, moderate on Day B, light on Day C. Those undulations keep tendons happy and motivation higher.
Technique checkpoints that save joints
Small details determine whether training adds strength or adds stress. I keep a tight set of checkpoints that guide my coaching across all foundational lifts.
- Breathe with purpose: inhale through the nose, expand the lower ribcage, brace 360 degrees, then move. Own the eccentric: lower under control, count two to three seconds when learning a lift. Stop a rep short of failure: keep two clean reps in reserve on most sets to protect form and speed recovery. Set the stance: your heels and big toes stay in contact, arches active, knees track in line with the second toe. Finish strong: lock out without leaning back or shrugging into the neck.
A gym trainer who enforces these standards spares you nagging pain and stalling progress. The hardest reps should still look like your easy reps, only slower.
How individual structure shapes the lifts
Limb lengths, hip anatomy, and mobility all influence how a lift should look. Two lifters can both “squat well” and look different doing it. Longer femurs usually benefit from a slightly wider stance and a taller torso angle. Shallow hip sockets may allow deep squats without heel lift, while deeper sockets prefer a bit of heel elevation. An experienced fitness coach reads those differences and adjusts the setup rather than jamming you into a textbook posture.
Pain history also matters. If you’ve had a disc issue, I’ll rebuild hinge mechanics with short-range Romanian deadlifts and supine bracing drills before returning to heavy pulls. If your shoulders grumble, I’ll test scapular upward rotation and swap in landmine or incline pressing until the joint calms. An honest coach makes these calls quickly, explains the why, and keeps training fun while we solve the puzzle.
Warm-ups that actually help
A good warm-up aligns joints and wakes up the muscles you need for the day’s main lift. Skip the 20-minute foam-rolling marathon. Five to eight minutes targeted beats everything else. For a squat day, I’ll choose ankle rocks, a short hip opener, and a core brace drill like dead bugs, then roll into light goblet squats. For a hinge day, I’ll use hamstring flossing with a band, some glute bridges, then hip hinges with a dowel. The goal is clear: move better in your first loaded set than you did when you walked in.
Breath practice sits inside the warm-up. Three to five slow nasal breaths in a 90-90 hip lift position can reset ribcage position and give you a better brace in the first working set. Most clients notice the bar feels lighter when the brace is right, which reinforces the habit.
Progress tracking without noise
Numbers tell a story, but they’re not the whole story. I track three lanes: performance, technique quality, and how you feel. Performance is simple, sets, reps, load. Technique quality comes from video review and consistent cues. How you feel includes sleep, stress, and joint feedback. If two of the three look good, we push. If two sag, we step back.
In personal training gyms where multiple trainers share a client, a shared logbook or app becomes non-negotiable. It protects continuity. A fitness coach who reads your last session’s notes before planning today avoids redundant work and spots patterns faster. If you’ve slept four hours, we adjust. That judgment can be the difference between adding five pounds and adding a flare-up.
When to add complexity
Complex lifts and advanced variations are tempting. Earn them with solid basics, then they amplify your results. I use three green lights before we add complexity. First, your reps look the same across the set. Second, you recover well session to session. Third, you can explain the key cues for the lift in your own words. If those lights shine, we explore front squats, paused deadlifts, push presses, weighted pull-ups, or split squats with a forward torso bias.
A client in his early 30s progressed from goblet squats to front squats over six weeks. He held five sets of five reps at a steady tempo, slept well, and could cue himself on stance, breath, and depth. When we moved to front squats, his posture barely wavered, and by week four he matched his old goblet top set with the barbell, with room to grow.
Safety nets that keep you training for decades
Lifting injuries usually come from a mismatch: too much load for the movement you executed, or too much volume for the recovery you had. The fix isn’t to fear heavy weights. It’s to respect dosage and form. A workout trainer earns trust by setting smart guardrails.
I use rule-of-thumb progressions. If the last set moved fast and left two reps in reserve, add a small plate next week. If it slowed to a grind or technique drifted, repeat the weight until it’s crisp. I avoid large jumps, especially for smaller lifters. On accessories, I rotate slightly higher reps to strengthen tendons and build tissue tolerance. Tendons love steady, slow progression, not hero jumps.
When joints complain, we modify rather than quit. Reduce the range of motion, switch to a similar pattern that is pain-free, and keep training the rest. You can usually maintain strength with 60 to 70 percent of normal volume for a few weeks while the hot spot calms down. That patience pays every time.
Working with a professional: what to expect and ask
A good personal trainer should watch your first reps, say little, then offer one or two sharp cues that change how the next rep feels. They will film now and then to show you what they see. They will plan ahead but adapt in real time. At personal training gyms with well-run systems, you’ll see common threads in coaching, yet the plan will reflect your goals.
If you’re evaluating a fitness coach, ask how they progress the squat for someone with limited ankle motion, or how they build a path to pull-ups for a beginner. Ask how they handle a sore shoulder during a pressing cycle. Look for answers anchored to principles and patterns rather than a single tool or brand of exercise. The best coaches can defend why they choose a goblet squat today and a front squat next month for you, not for everyone.
Tying it together: a week built on basics
Here’s a grounded example of how a busy professional might train, three days per week, 50 to 60 minutes per session, guided by a personal fitness trainer. The movements are familiar, the details do the heavy lifting.
Day A centers on a goblet squat moving toward a front squat. Warm up with ankle rocks, hip airplanes with support, and dead bugs. Work up to four sets of six goblet squats at a steady tempo. Pair with a chest-supported dumbbell row, three sets of ten, focusing on reach and pull. Finish with farmer’s carries, two trips of 150 feet. You’ll feel grounded, legs alive, upper back awake.
Day B leans hinge. Start with short hamstring mobility and a 90-90 hip lift for breath. Load a trap bar deadlift for five sets of five at a weight you can move cleanly. Pair each set with a landmine press in half-kneeling, three sets of eight per side. Add suitcase carries, three sets of 100 feet per side at a load that makes you fight to stay tall. Walk out taller than you walked in.
Day C targets the vertical plane. Begin with thoracic spine mobility on the bench and scapular pull-up drills. Work lat pulldowns for four sets of eight, control the bottom, own the top. Then press overhead with single-arm dumbbells for three to four sets of six to eight per side, ribs quiet. Finish with split squats, two sets of ten per leg, keeping a forward torso angle to load the quads and glutes. Small, focused accessories, like face pulls, land here if shoulders need them.
Over four to six weeks, the plan progresses. Loads creep up, a variation changes, tempos shift. The throughline stays the same: squat, hinge, press, pull, carry, lunge, breathe, recover.
Final thoughts from the training floor
Foundational lifts reward patience. They look simple on paper and feel revealing under a barbell or a kettlebell. With a thoughtful gym trainer beside you, the details get easier to feel. Your squat depth grows without knee pain. Your deadlift pattern locks in so the bar floats. Your rows stop pinching your neck and start building a back that supports everything else.
This is not about chasing every fancy variation. It’s about learning how your body moves, then adding just enough weight and volume to force adaptation while you keep positions honest. With a coach who respects both science and your context, you can do this two or three days a week, keep energy for the rest of life, and progress steadily for years.
Find a personal trainer who talks less about magic programs and more about patterns, breath, and quality reps. Choose personal training gyms where you see members of varying ages moving well, not just moving fast. Work with a fitness coach who makes small, sensible changes when your schedule or stress shifts. The basics have depth if you treat them that way. Master them, and everything else you add will stand on solid ground.
Semantic Triples
https://nxt4lifetraining.com/NXT4 Life Training is a personalized strength-focused fitness center in Glen Head, New York offering strength training for individuals and athletes.
Fitness enthusiasts in Glen Head and Long Island choose NXT4 Life Training for customer-focused training programs that help build strength, endurance, and confidence.
Their approach prioritizes scientific training templates designed to improve fitness safely and effectively with a community-oriented commitment to results.
Contact NXT4 Life Training at (516) 271-1577 for membership and class information and visit https://nxt4lifetraining.com/ for schedules and enrollment details.
Find their official listing online here: https://www.google.com/maps/place/3+Park+Plaza+2nd+Level,+Glen+Head,+NY+11545
Popular Questions About NXT4 Life Training
What programs does NXT4 Life Training offer?
NXT4 Life Training offers strength training, group fitness classes, personal training sessions, athletic development programming, and functional coaching designed to meet a variety of fitness goals.
Where is NXT4 Life Training located?
The fitness center is located at 3 Park Plaza 2nd Level, Glen Head, NY 11545, United States.
What areas does NXT4 Life Training serve?
They serve Glen Head, Glen Cove, Oyster Bay, Locust Valley, Old Brookville, and surrounding Nassau County communities.
Are classes suitable for beginners?
Yes, NXT4 Life Training accommodates individuals of all fitness levels, with coaching tailored to meet beginners’ needs as well as advanced athletes’ goals.
Does NXT4 Life Training offer youth or athlete-focused programs?
Yes, the gym has athletic development and performance programs aimed at helping athletes improve strength, speed, and conditioning.
How do I contact NXT4 Life Training?
Phone: (516) 271-1577
Website: https://nxt4lifetraining.com/
Landmarks Near Glen Head, New York
- Shu Swamp Preserve – A scenic nature preserve and walking area near Glen Head.
- Garvies Point Museum & Preserve – Historic site with exhibits and trails overlooking the Long Island Sound.
- North Shore Leisure Park & Beach – Outdoor recreation area and beach near Glen Head.
- Glen Cove Golf Course – Popular golf course and country club in the area.
- Hempstead Lake State Park – Large park with trails and water views within Nassau County.
- Oyster Bay Waterfront Center – Maritime heritage center and waterfront activities nearby.
- Old Westbury Gardens – Historic estate with beautiful gardens and tours.
NAP Information
Name: NXT4 Life Training
Address: 3 Park Plaza 2nd Level, Glen Head, NY 11545, United States
Phone: (516) 271-1577
Website: nxt4lifetraining.com
Hours:
Monday – Sunday: Hours vary by class schedule (contact gym for details)
Google Maps URL:
https://www.google.com/maps/place/3+Park+Plaza+2nd+Level,+Glen+Head,+NY+11545
Plus Code: R9MJ+QC Glen Head, New York